A body shape calculator can be useful, but only if the numbers going into it describe your body on an ordinary day. The goal is not to win a label or prove that you fit one neat category. It is to notice proportion, make shopping less random, and understand why two garments with the same size can sit so differently.
What a calculator can and cannot tell you
Most calculators compare the bust, waist, high hip, and fullest hip. They turn those relationships into familiar names such as hourglass, pear, rectangle, apple, or inverted triangle. That is a shorthand, not a scientific classification. A calculator cannot see your shoulder line, ribcage, torso length, muscle distribution, or the way you prefer clothes to fit. Those details matter when you are choosing a blazer or deciding whether a trouser rise feels right.
Use the result as a first draft. If the calculator says pear but fitted shirts pull across your shoulders before they fit your waist, the shoulder fit deserves attention. If it says rectangle while a belted dress creates a clear waist, that observation belongs in the picture too. Measurements are most helpful when they start a practical question: where do I need ease, structure, or a different cut?
Set up before you pick up the tape
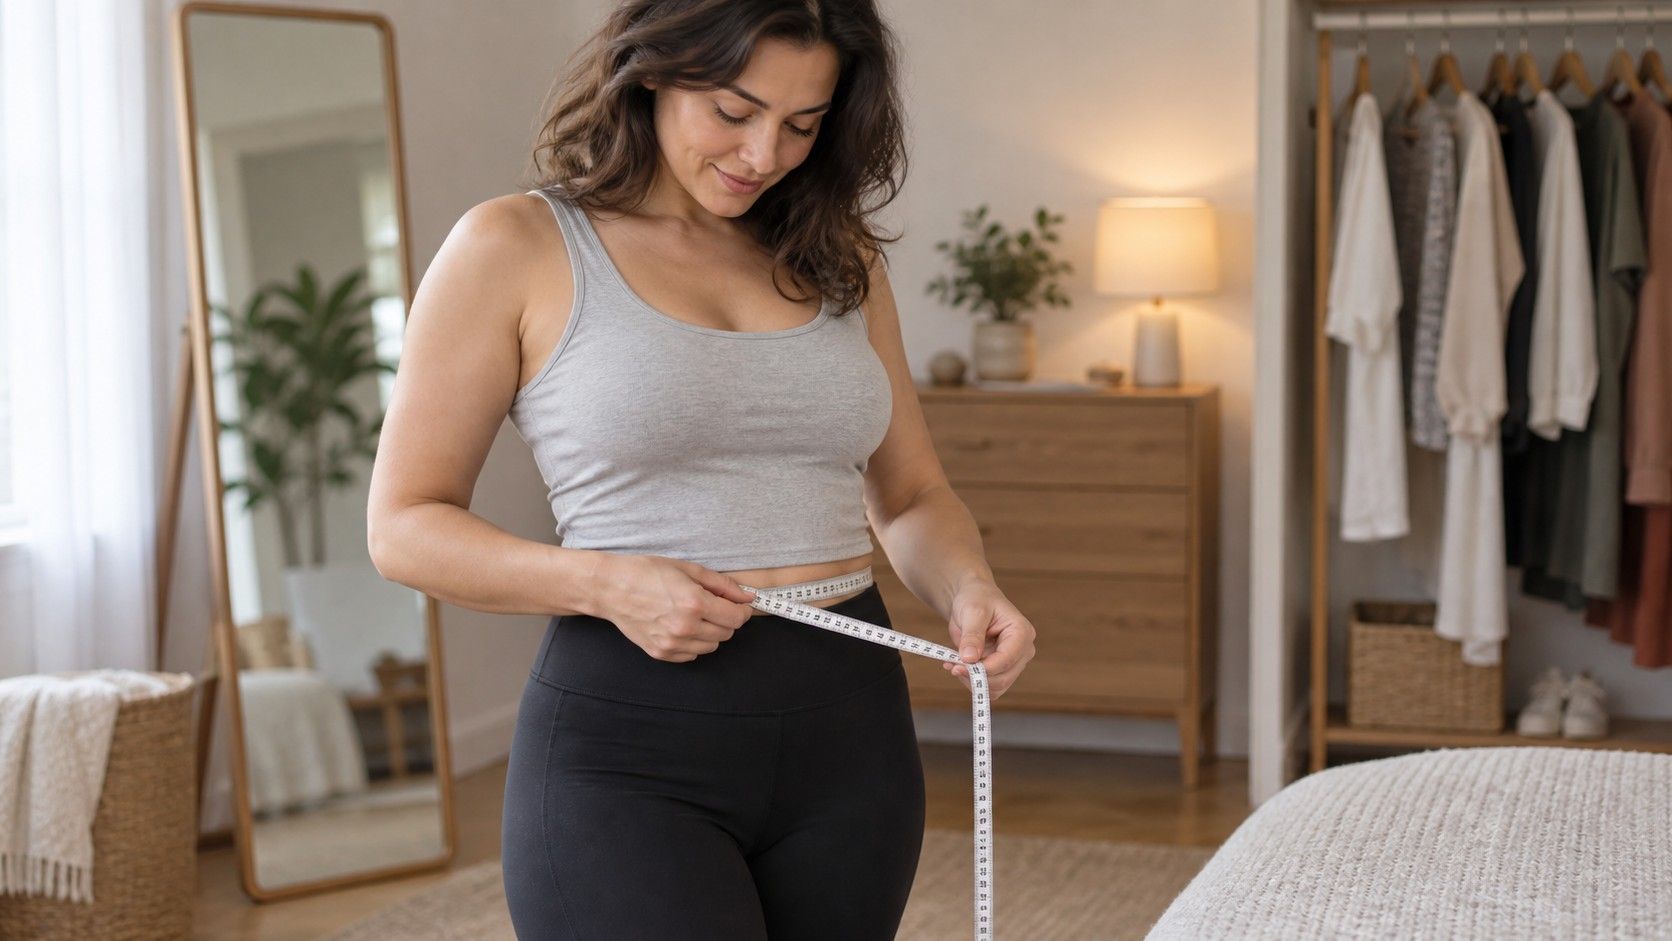
Use a soft measuring tape, a mirror, and the underwear or close-fitting clothing you normally wear under a dress or jeans. A thick sweatshirt changes the result; so does holding your breath. Stand with both feet on the floor and let your arms hang. The tape should lie flat, not carve a groove into skin and not sag like a loose necklace.
It helps to measure at roughly the same time of day if you plan to repeat the process. Bodies naturally change a little after meals, exercise, travel, and different points in a monthly cycle. That does not make a measurement wrong. It simply means a single number should not become a courtroom decision. Take each reading twice. If the two numbers differ by more than about half an inch or one centimetre, check the tape position and take a third reading.
Take the four measurements in the same way
For the bust, place the tape around the fullest part of the chest, usually across the fullest point of the bust and straight across the back. Look sideways in the mirror. A tape that climbs up the back can add a surprising amount. Wear the bra you would use for everyday fitted tops, because support changes where the fullest point sits.
For the natural waist, bend gently to one side and find the crease. Return upright and wrap the tape around that level. This is often above the waistband of low-rise jeans and below the narrowest visual point in a loose dress. Do not pull in your stomach. The useful waist measurement is the one a garment has to accommodate while you sit, breathe, and eat lunch.
The high hip is the band around the upper pelvis, several inches below the waist and above the fullest hip. It is easy to skip, yet it explains why some straight skirts fit at the waist and feel tight before they reach the hip. Finally, measure the fullest part of the hip and seat with your feet together. Slide the tape a little up and down until it finds the widest circumference, then keep it parallel to the floor.
| Measurement | Where the tape goes | Useful fitting clue |
|---|---|---|
| Bust | Fullest part of the chest, level across the back | Helps with button gaps and bodice ease |
| Natural waist | At the side-bend crease | Useful for belts, dresses, and waistband placement |
| High hip | Upper pelvis below the waist | Explains fit in skirts and high-rise trousers |
| Full hip | Fullest seat and hip area | Helps choose trouser and skirt room |
Read the pattern rather than one number
There is no magic difference that turns one set of measurements into a permanent body shape. Look at the relationship between areas. Are your bust and hips fairly close, with a noticeably smaller waist? Are your hips fuller than your shoulders? Does your upper body tend to set the fit of jackets? A tape can suggest the answer, but a full-length mirror and a few familiar garments provide the context.
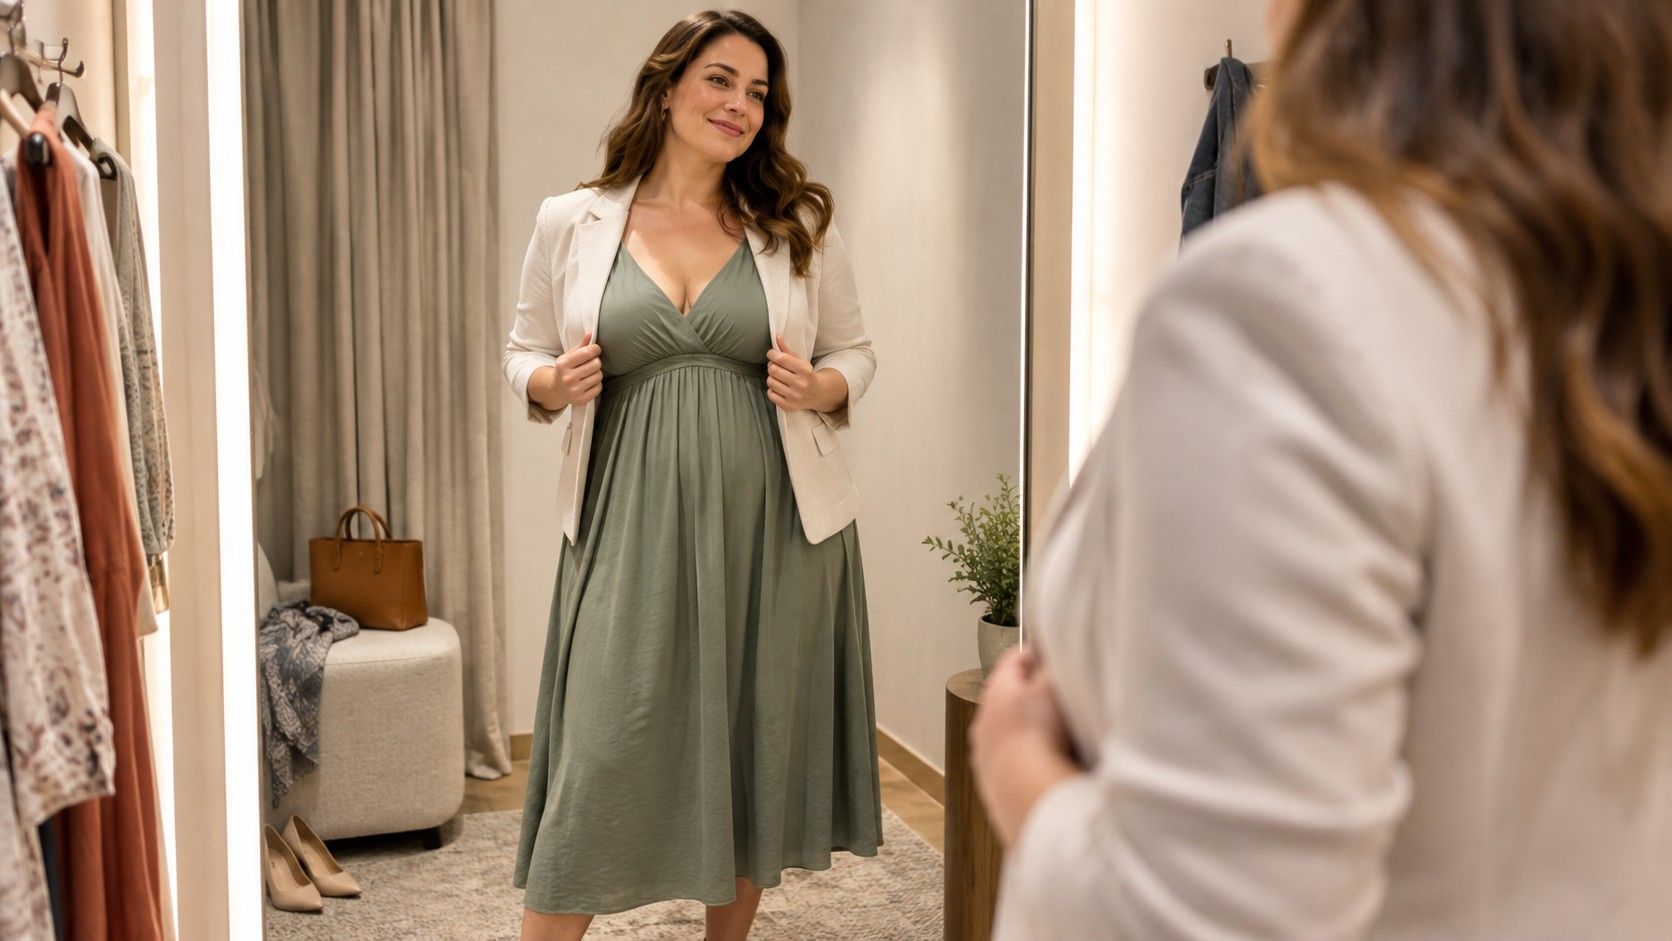
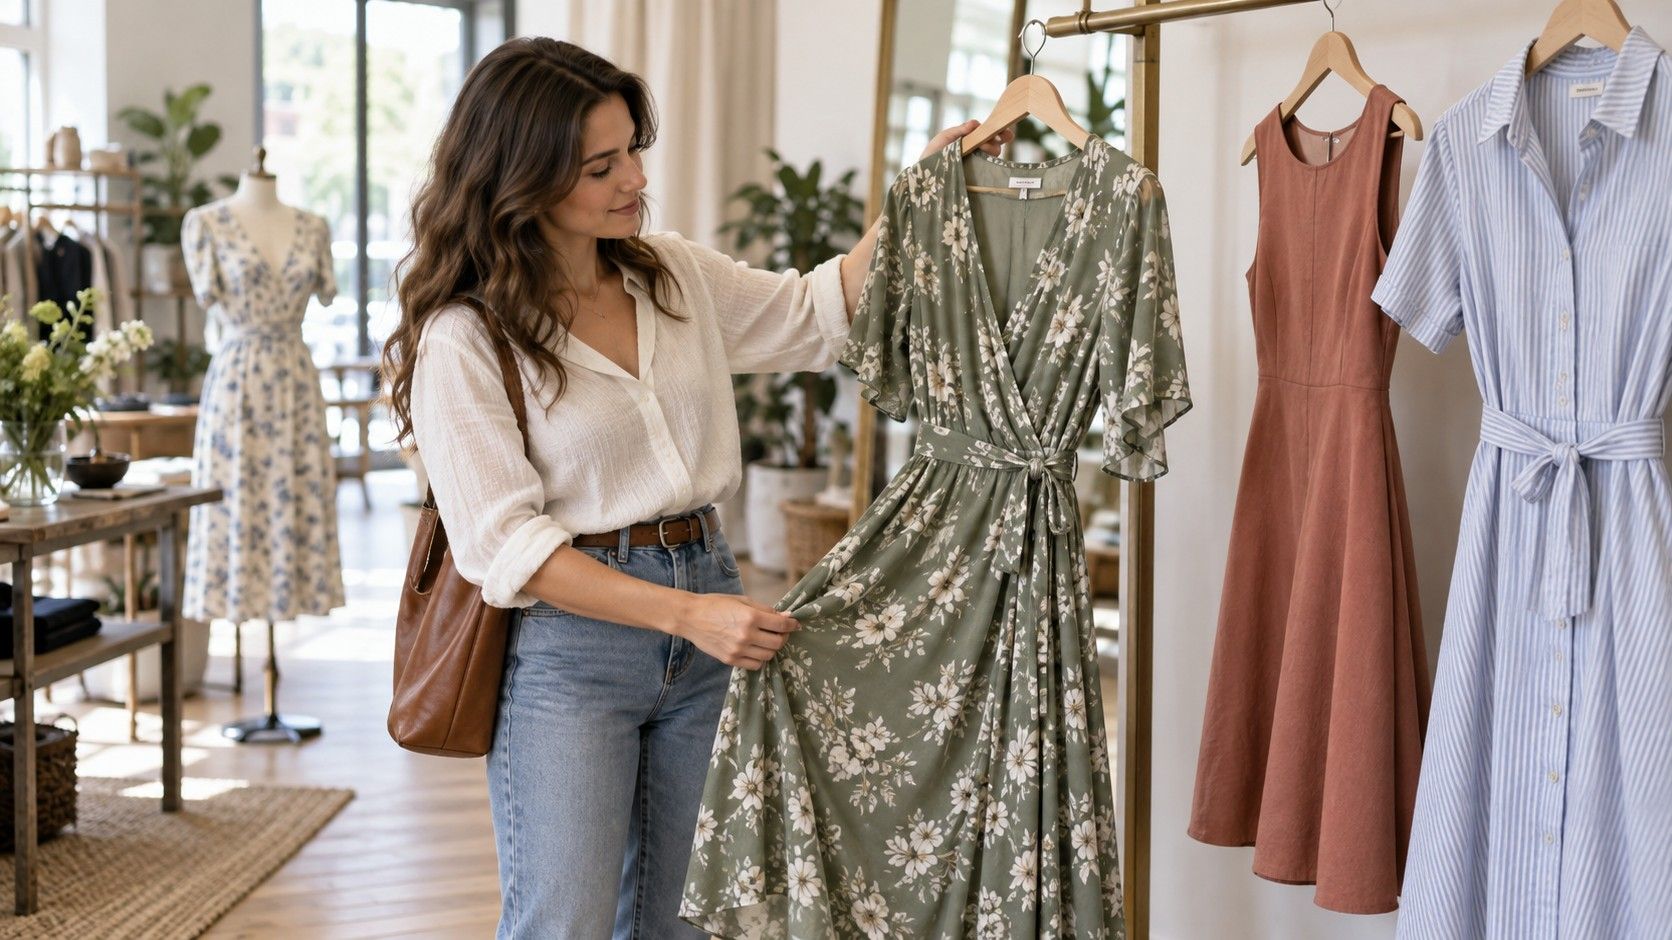
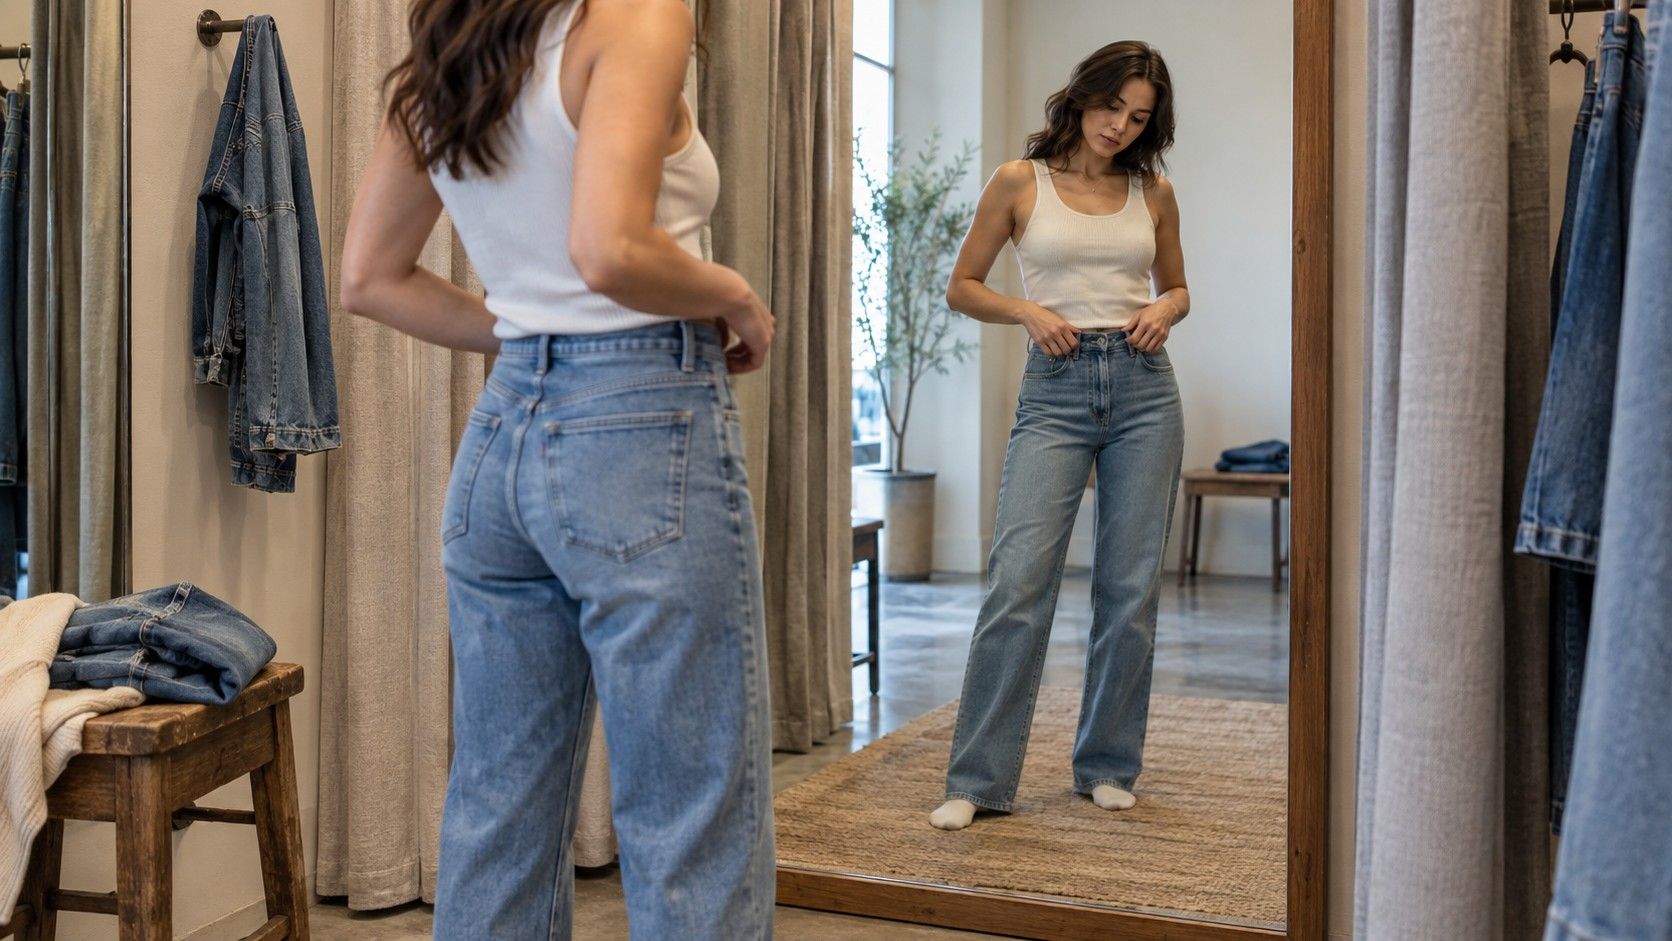
Try comparing the figures with how clothes behave. A wrap dress may show a defined waist while a boxy shirt hides it. Wide-leg trousers may skim the hip easily but need a belt at the waist. A fitted jacket can reveal whether the shoulders, bust, or hip is the point that asks for a larger size. These are not flaws to solve. They are straightforward fit facts, and they make alterations or size choices less mysterious.
Small measuring mistakes that create big confusion
The common mistake is pulling the tape tight because a smaller number feels more official. It produces a number that clothing cannot use. Another is measuring over a padded bra one day and a bralette the next, then assuming the body has changed. Keep the conditions close enough that the comparison means something.
Watch the tape at the back. It tends to drift upward during bust and high-hip measurements, especially when you work alone. A mirror is more reliable than trying to sense whether it is level. Also avoid measuring a waist at the narrowest visible point in a posed photo. The natural waist is a location on your body, not the result of standing with your ribs lifted for ten seconds.
Use the result as a starting point in the fitting room
Save the four numbers in your notes along with a date and the brands or cuts that fit particularly well. When a size chart lists garment measurements, compare the point that matters for that item: hip room for trousers, bust room for a button-front shirt, waist room for a fitted dress. A body shape calculator is far less useful than that simple habit.
Then test the garment in motion. Sit down, raise your arms, take a few steps, and look at the side view. If the fabric pulls, twists, or keeps riding up, the issue may be length or construction rather than your shape category. Good clothes leave room for a real body to move. The measurements merely help you find them faster.